
Stand-Up Pouch: Types, Materials and Features
A stand up pouch has a bottom gusset that lets it stand on shelf. Learn gusset styles, closures, laminate structures and filling considerations.
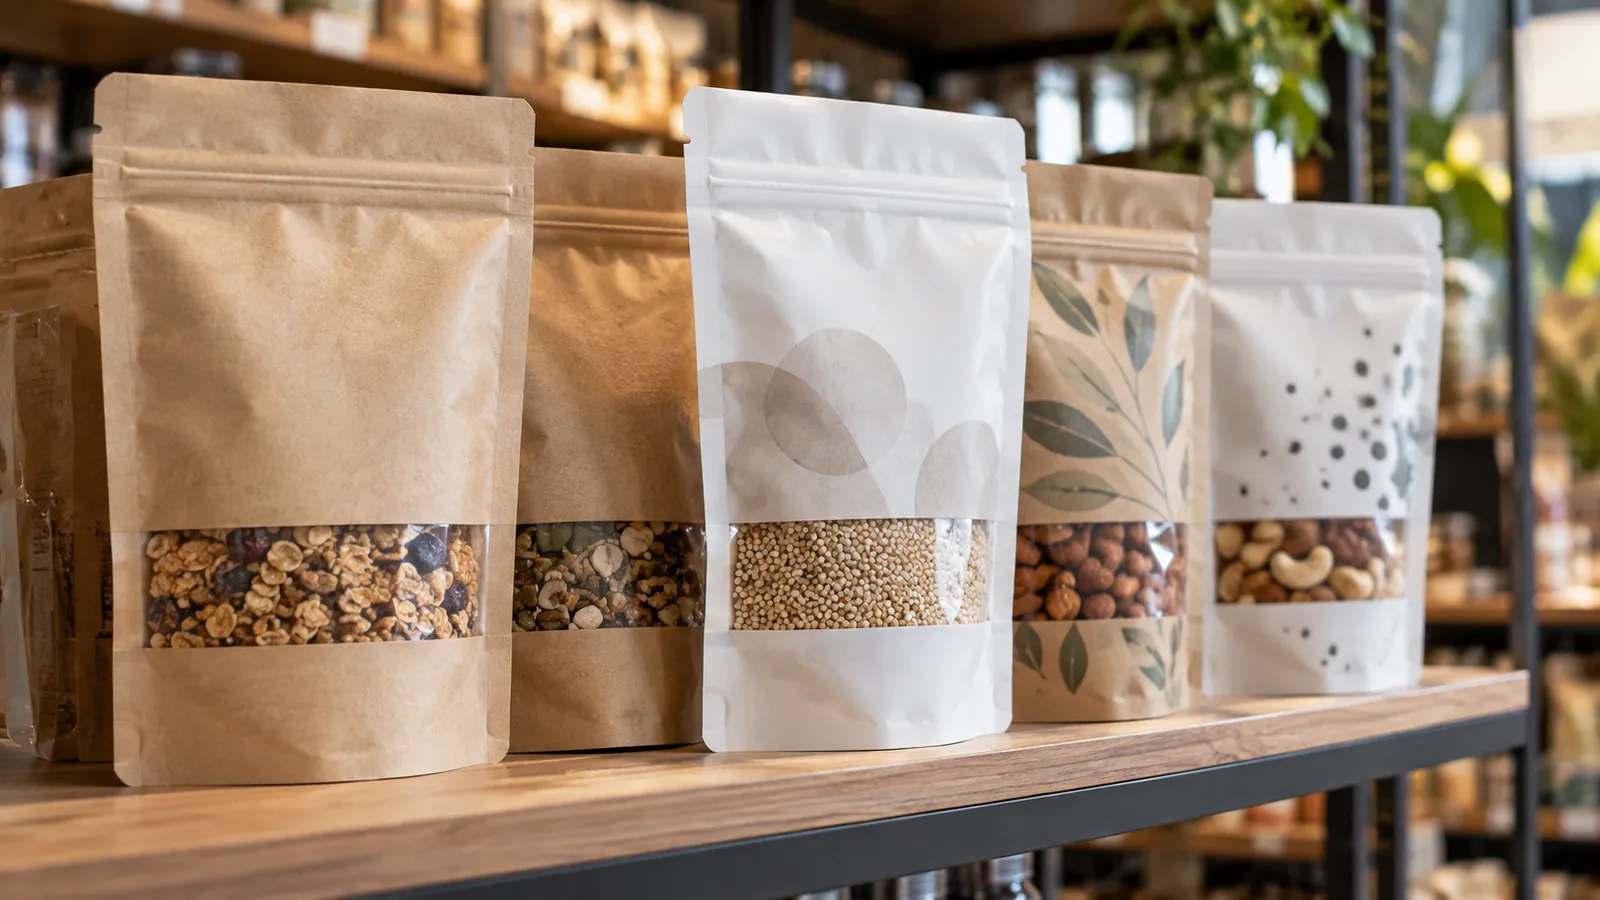
A pouch that slumps or leaks after filling can fail its shelf and transport checks. A stand up pouch is a flexible bag with a bottom gusset that opens when filled, so the pack stands upright on a shelf. It holds dry goods, liquids, powders and pastes, and can carry a zipper, spout or tear notch. You can buy it as a premade pouch from a converter or form it from rollstock on a horizontal form-fill-seal machine.
Scroll horizontally to view all columns if needed. ↔
| Bottom design | Product trial input | Verify on filled packs |
|---|---|---|
| Round/Doyen | Product form, mass and density ___ | Standing; bottom-seal integrity after drop ___ |
| K-seal | Product form, mass and density ___ | Standing; angled-seal intersections after drop ___ |
| Plow | Product form, mass and density ___ | Fold opening; corner seals and standing after drop ___ |
Hold dimensions, structure, conditioning and drop conditions constant for a comparison. Bottom names are not fixed load ratings or evidence of lower film use.
Stand up pouch types by bottom gusset
Manufacturer structural diagrams distinguish round/Doyen, K-seal and plow geometries:
- Round/Doyen: a curved seal attaches the bottom gusset to the face panels.
- K-seal: angled seals define the lower side/gusset region.
- Plow: continuous folded film forms the bottom gusset without a separate bottom-gusset seal; side/corner seals complete the design.
Choose from the actual drawing and filled-pack tests, not a universal light/medium/heavy ranking. Neither K-seal geometry nor a supplier’s application example establishes a material saving against another size or structure. See formats for related bases.

Features and what to specify
Scroll horizontally to view all columns if needed. ↔
| Feature | Purpose | What to specify |
|---|---|---|
| Press-to-close zipper | Reclosing after opening | Zipper profile, width, position below the top seal, number of tracks, food-contact compliance |
| Slider | Easier reclosing for dry goods | Slider type, track size, machine compatibility |
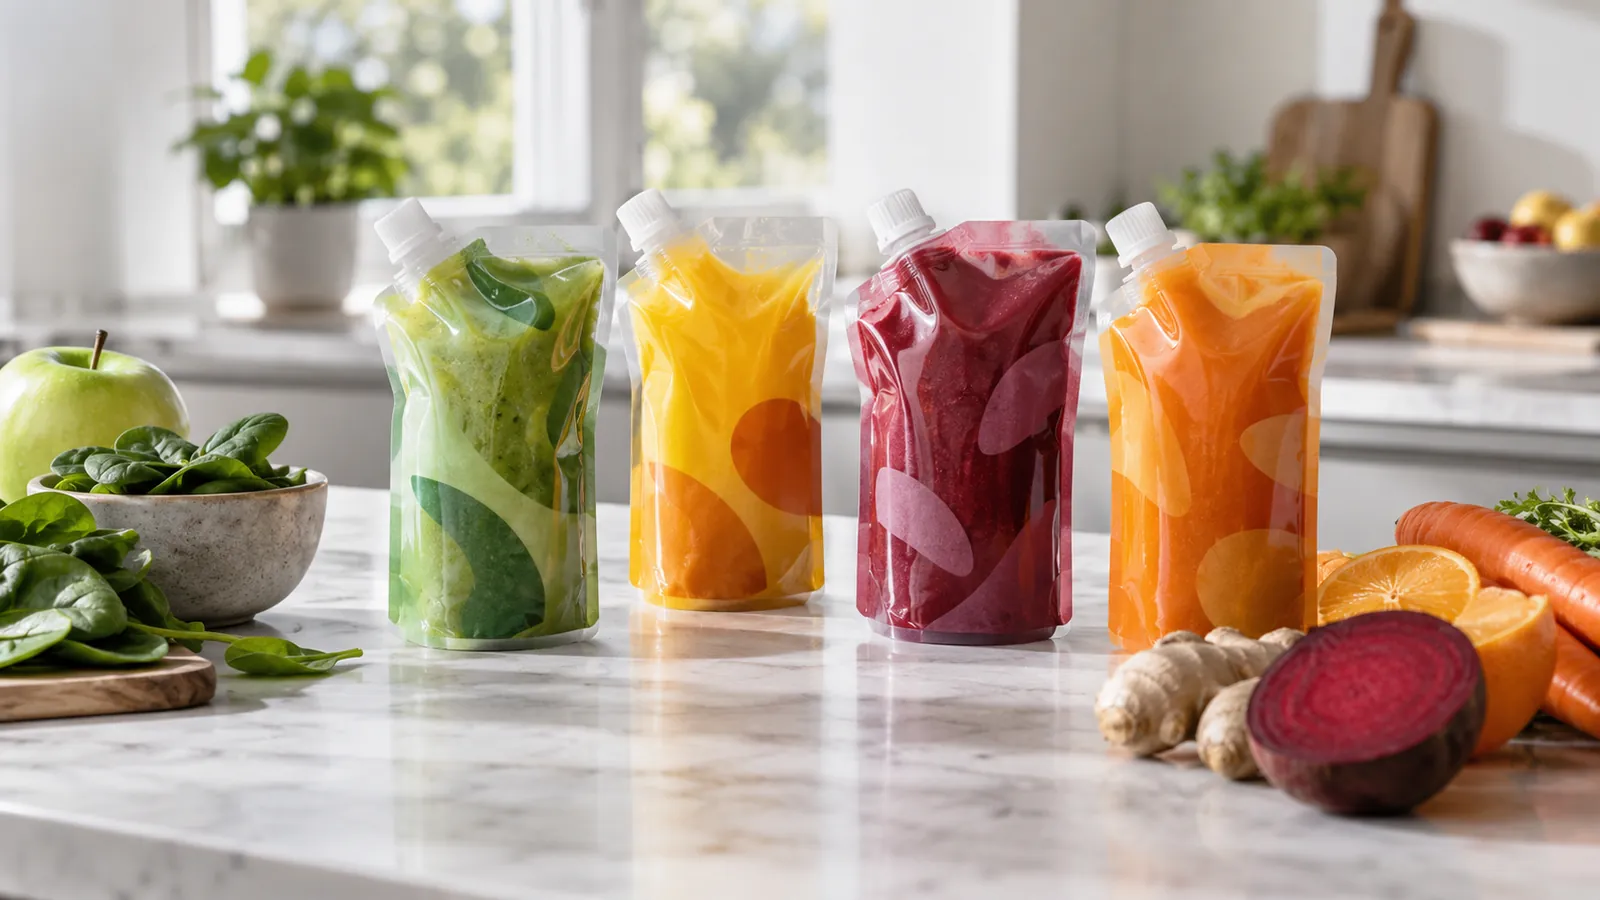
| Spout | Pouring or squeezing liquids and purees | Spout diameter, cap type, fitment seal compatibility with the sealant |
| Tear notch | Easy opening without scissors | Notch position, depth, and whether a laser score is applied |
| Hang hole | Retail display on pegs | Hole shape and position, reinforcement if needed |
| Window | Product visibility | Window size and position, barrier effect of the clear section |
| Degassing valve | Lets gas escape from roasted coffee | Valve type, position, seal integrity around the valve |
Validate shelf-life performance with the actual window or valve fitted; do not infer whole-pack performance from the base film alone. For coffee-specific choices, see coffee packaging materials.
Stand up pouch material and laminate structures
Laminate structure follows the product and its shelf-life needs. These are qualitative guides; exact thicknesses and layers vary by supplier.
- Dry goods and snacks: often a printed PET or BOPP outer layer, a metallized or barrier layer, and a PE sealant. That combination protects against moisture and still seals well. See snack packaging film.
- Liquids and sauces: the liquid’s weight stresses the bottom seal, so the sealant needs good seal strength and is often thicker, with nylon for puncture and flex resistance.
- Coffee: oxygen and aroma barrier matter most. Structures often include aluminum foil or a high-barrier coating, plus a valve for roasted beans.
- Pet food: needs puncture resistance, fat resistance and a sturdy bottom for larger weights. Nylon or a thicker laminate is common.
For polymer behavior, see PE film and PET film. Where the structure is built to resist oxygen or moisture, barrier film explains the options. For how these materials run on a pouch filler, read premade pouch packaging materials.
Premade pouches versus formed from rollstock
Scroll horizontally to view all columns if needed. ↔
| Premade pouch | Formed from rollstock (HFFS) | |
|---|---|---|
| Cost per pack | Calculate for the run | Calculate for the run |
| Shape and feature range | Wide: zippers, spouts, special shapes, finishes | Narrower, depending on the machine |
| Changeovers | Magazine, gripper, jaw/tool and recipe adjustments | Film, forming tools, jaw/tool and recipe adjustments |
| Minimum order | Converter minimums apply | Reel quantities |
| Inventory | Measure carton storage | Measure reel storage |
| Line complexity | Pouch opening, filling and top seal | Forming, filling and sealing together |
Time changeovers through the first accepted pack and compare the actual SKU mix; magazine replacement alone is not the complete changeover. Rollstock vs premade pouch gives a fuller checklist for the decision.
Filling and sealing considerations
- The filler opens the pouch by suction or by gripping and spreading the top. Stiffness and a clean pouch mouth help it open reliably.
- Powders, oils or liquids caught in the top seal weaken it. Dust extraction, a clean fill and a wider seal or a sealant with good contamination tolerance help.
- For a top-filled pouch with a zipper below the top seal, the final heat seal lies above the zipper. The thick zipper-end transitions are at the side seals; flange-to-film welds attach the zipper. Review these separately using the zipper geometry guide. Bottom-filled and other designs need their own seal drawings.
- The seal window of the sealant sets the temperature range; seal initiation temperature explains how that is defined.
- Hot fill and retort need different structures from ambient filling. Retort pouch covers sterilized formats.
- Residual head space air affects shelf life and appearance. A nitrogen flush or squeezing out air before sealing may be used.
Handling and shelf behavior
Check standing after filling, sealing and case packing. Record fill mass, product flow, film stiffness and shelf-print legibility under the agreed comparison conditions. Drop and vibration trials on filled, cased pouches check transport behavior that empty-pouch standing does not establish.
Choosing a stand up pouch step by step
- Define the product, fill weight and whether it is dry, liquid or paste.
- Set shelf-life and barrier targets, and test with the features included.
- Choose the gusset style for weight, shape and the filling machine.
- Decide the closure: zipper, slider, spout or none.
- Pick the route: premade or rollstock, based on volume and SKU count.
- Check recyclability goals early, because mono-material packaging changes which features are available.
- Run a trial on the actual filler, including drop and stand tests on filled pouches.
Method and sources
A manufacturer’s public comparison includes bottom-seal and bottom-view diagrams for Doyen, K-seal and plow; these establish geometry only. A pouch manufacturer’s public glossary distinguishes top-open from bottom-filled, top-presealed zipper packs. The schematic here illustrates a top-filled layout; it is not a universal machine configuration. Source URLs are retained in the evidence record, reviewed October 8, 2026. Use the first-pouch-order checklist to retain sample and trial records.
Continue reading
Related articles
Spouted Pouch: Spout Types, Materials and Filling
A spouted pouch is a flexible pouch with a plastic spout fitment for pouring or squeezing. Compare spout and cap types, structures, filling and recycling.

Flat Bottom Pouch: Box-Style Pouches Explained
A flat bottom pouch has a rectangular base and two side gussets that make a boxlike, self-standing pack. See construction, features and how it compares.
Flow Wrap Packaging: How It Works and What It Suits
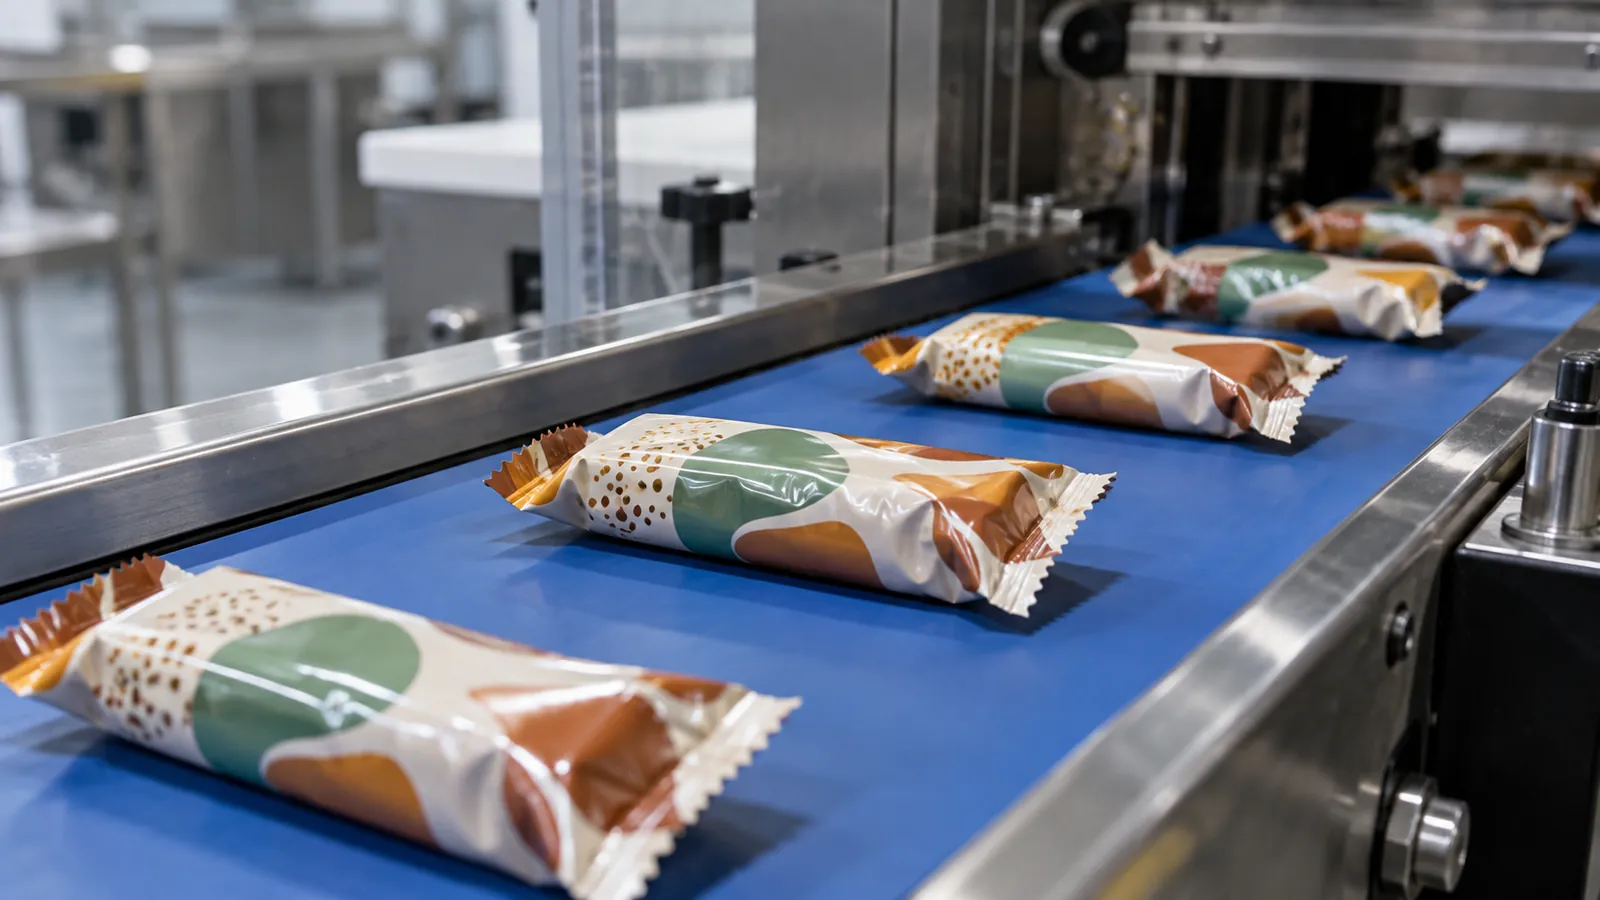
Flow wrap packaging forms a film tube around the product with a fin or lap seal and two end seals. See variants, suitable products and trade-offs.